Enabling Safari to successfully connect after changing a self-signed certificate
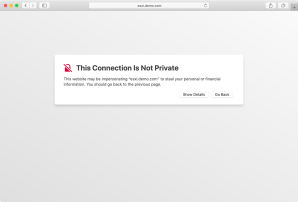
Every so often, I need to use Safari to access something which is using a self-signed certificate. When I do so, Safari now walks you through the following procedure:
- Warns you something’s not right and give you the option of either going back or seeing the details.
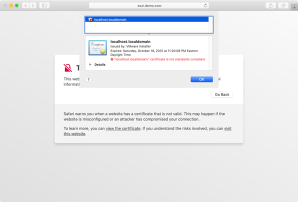
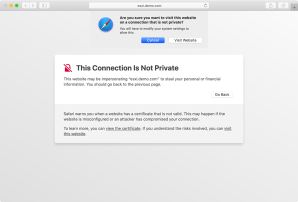
- If you choose to see the details, Safari will let you view the certificate.
Safari will also give you the option of proceeding anyway.
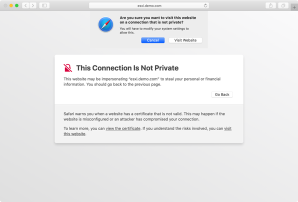
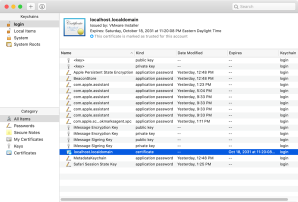
If you choose to proceed anyway, Safari will store the self-signed certificate in your login keychain and mark it as trusted.
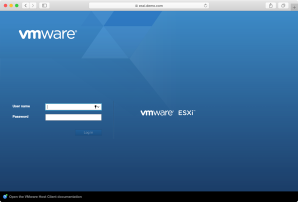
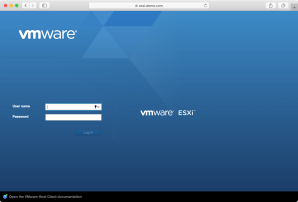
With this certificate now marked as trusted, Safari will allow you to visit the website.
However, what happens when the SSL certificate changes but keeps the same subject name? At this point, connections from Safari to the site will fail with an error message similar to the one described below:
Safari Can’t Open the Page
Safari can’t open the page because Safari can’t establish a secure connection to the server “server.name.here”.
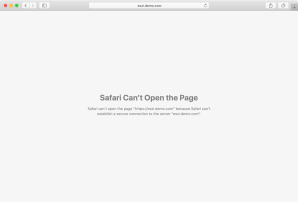
The reason that this message appears is because Safari is using HTTP Strict Transport Security, otherwise known as HSTS. One of the requirements of HSTS as implemented by Safari is that if the security of the connection cannot be ensured, Safari must terminate the connection and should not allow the user to access the web application.
Since the self-signed certificate stored in your login keychain and the SSL certificate being received don’t match each other, that tells Safari that the certificate being received can’t be trusted. The result is Safari immediately terminates the connection and displays an error message like the one shown above.
However, what if the certificate changing is known behavior and you know that proceeding is safe? It’s possible to re-set Safari’s behavior, but it’s not intuitive. For more details, please see below the jump.
In my case, the certificate change is because I was switching between test instances of VMware’s ESXi hypervisor, which includes a web admin console which by default is protected by a self-signed certificate which is generated when you install ESXi. Because I had multiple ESXi test instances and wanted to use the same domain name for each, I had multiple unique self-signed SSL certificates which all happened to share the same DNS name: esxi.demo.com
What that meant is that for the first instance, I was given the option of storing the SSL certificate in my login keychain and I could thereafter connect to the first instance. But after doing that for first instance, I couldn’t then connect to the others because of HSTS.
To fix this, I used the following procedure:
1. Quit Safari
2. Open /Applications/Utilities and launch Keychain Access.app
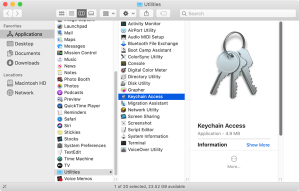
3. Select the login keychain.
4. Identify the self-signed certificate which Safari stored in the keychain.
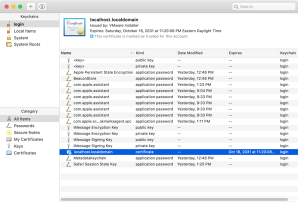
5. Delete the self-signed certificate.
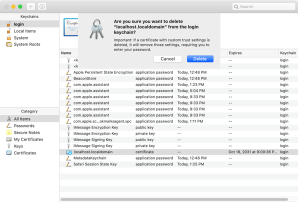
Note: If you are running macOS Mojave or macOS Catalina, you will also need to run steps 6 through 13 to enable Terminal to have Full Disk Access. Otherwise, skip to step 14.
6. Open System Preferences.
7. Choose the Security & Privacy preference pane.
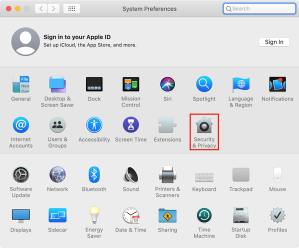
8. Select the Privacy tab.
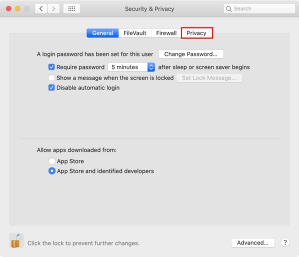
9. Click the lock icon in the lower left corner of the preference panel and authenticate with an admin account’s credentials.
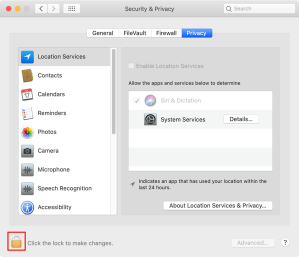
10. Select Full Disk Access.
11. Click the [+] plus button.
12. Select /Applications/Utilities/Terminal.app.
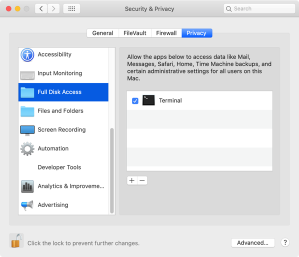
13. If needed, quit and relaunch Terminal.
Note: All of the commands referenced below should be run as the logged-in user. Do not run them as root.
14. Open Terminal
15. Run the following command to stop Safari’s HTTP Storage Manager.
killall nsurlstoraged

16. Run a command similar to the one shown below to remove the server address from the Safari’s list of accepted self-signed sites:
/usr/libexec/PlistBuddy -c "Delete :com.apple.CFNetwork.defaultStorageSession:server.name.goes.here" $HOME/Library/Cookies/HSTS.plist
For example, if the server name is esxi.demo.com, the command would look like this:
/usr/libexec/PlistBuddy -c "Delete :com.apple.CFNetwork.defaultStorageSession:esxi.demo.com" $HOME/Library/Cookies/HSTS.plist
![]()
17. Run the following command to start Safari’s HTTP Storage Manager again:
launchctl start /System/Library/LaunchAgents/com.apple.nsurlstoraged.plist
![]()
To test this, open Safari and try connecting again to your site. It should now walk you through the procedure of storing the self-signed certificate and allowing you to connect again.
So you have to do all that every time you switch esxi demo instances? Hopefully you don’t do that too often…
Thx for this!
Man, thank you for this post!
Thank you so much for providing this guide, it worked perfectly for me on Mac OS X Catalina! I was pulling my hair out and going absolutely mad before I discovered your writeup, you’re a lifesaver!
I’m with Ventura and from the start is not working as Safari is never trusting the certificate ;/